Verifying Contracts with Blockscout
Verifying your deployed contract is always a good idea!
Once verified, a smart contract or token contract's source code becomes publicly available and verifiable. This creates transparency and trust.
Contracts can be verified on the Elastos block explorers, which are based on the Blockscout UI.
To learn more about the smart contract verification Rust microservice and verification algorithm see this page for developers.
👷🏻♂️ If preferred you can choose the following methods to verify directly from your Hardhat dev environment.
Verification via Flattened Source Code
On contract creation, you will receive an address to check a pending transaction. If it does not direct you to the explorer automatically, go to esc.elastos.io and copy the contract's address into the search bar. Your contract details should come up.
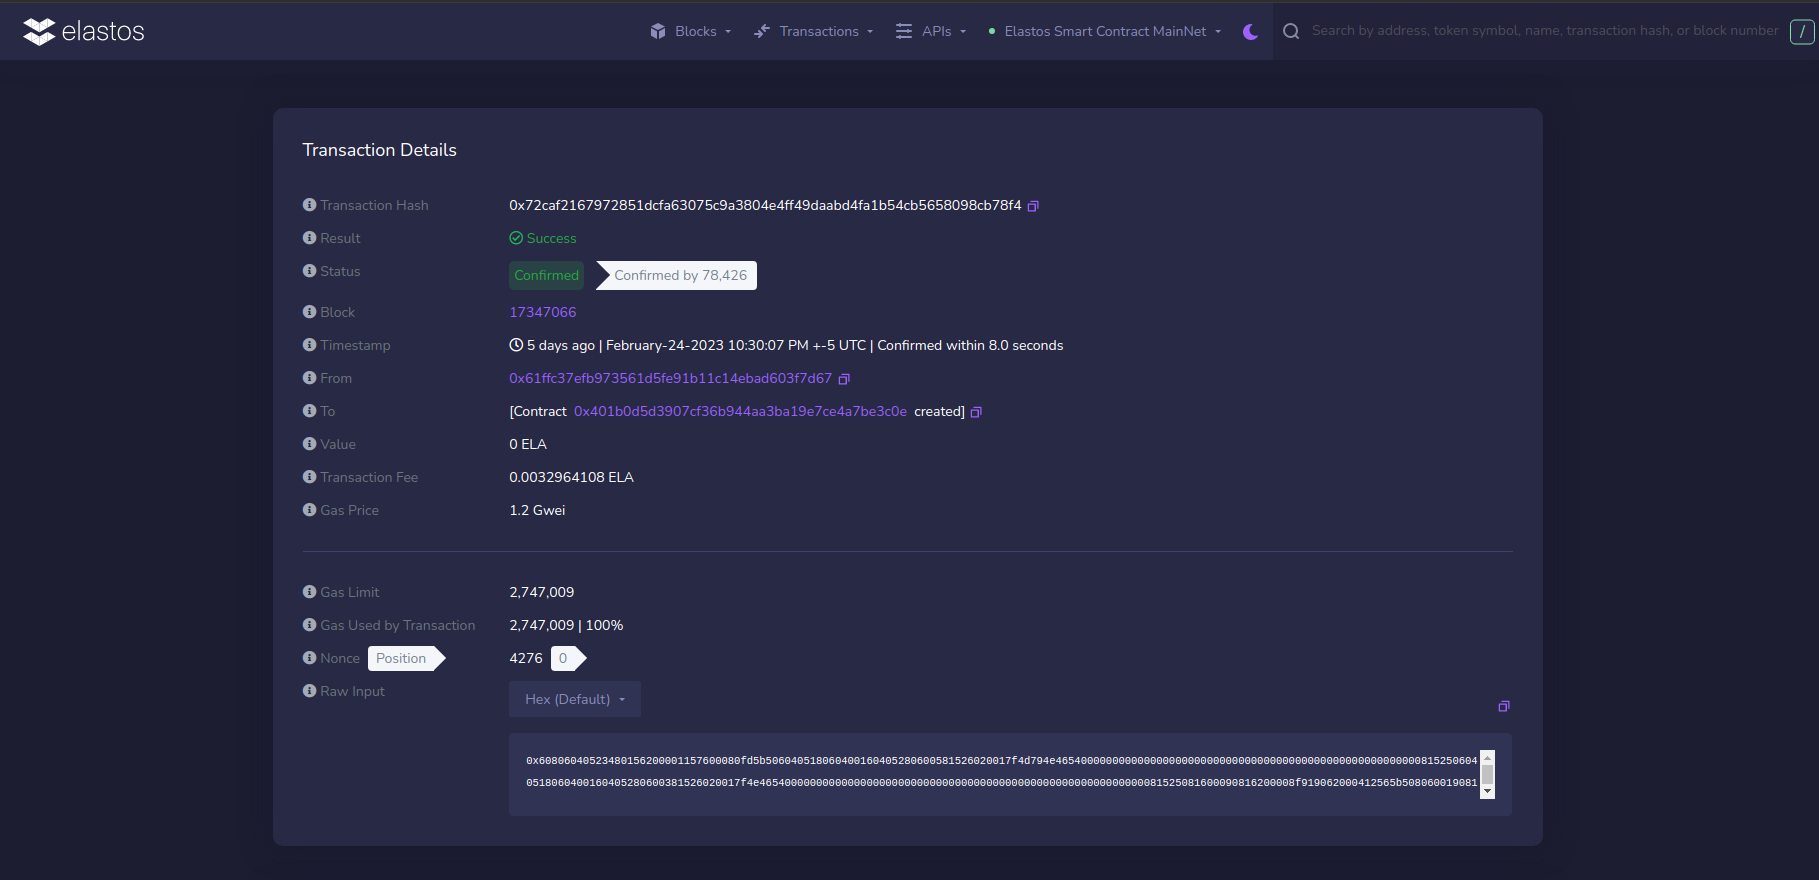 The contract address is shown in contract creation details
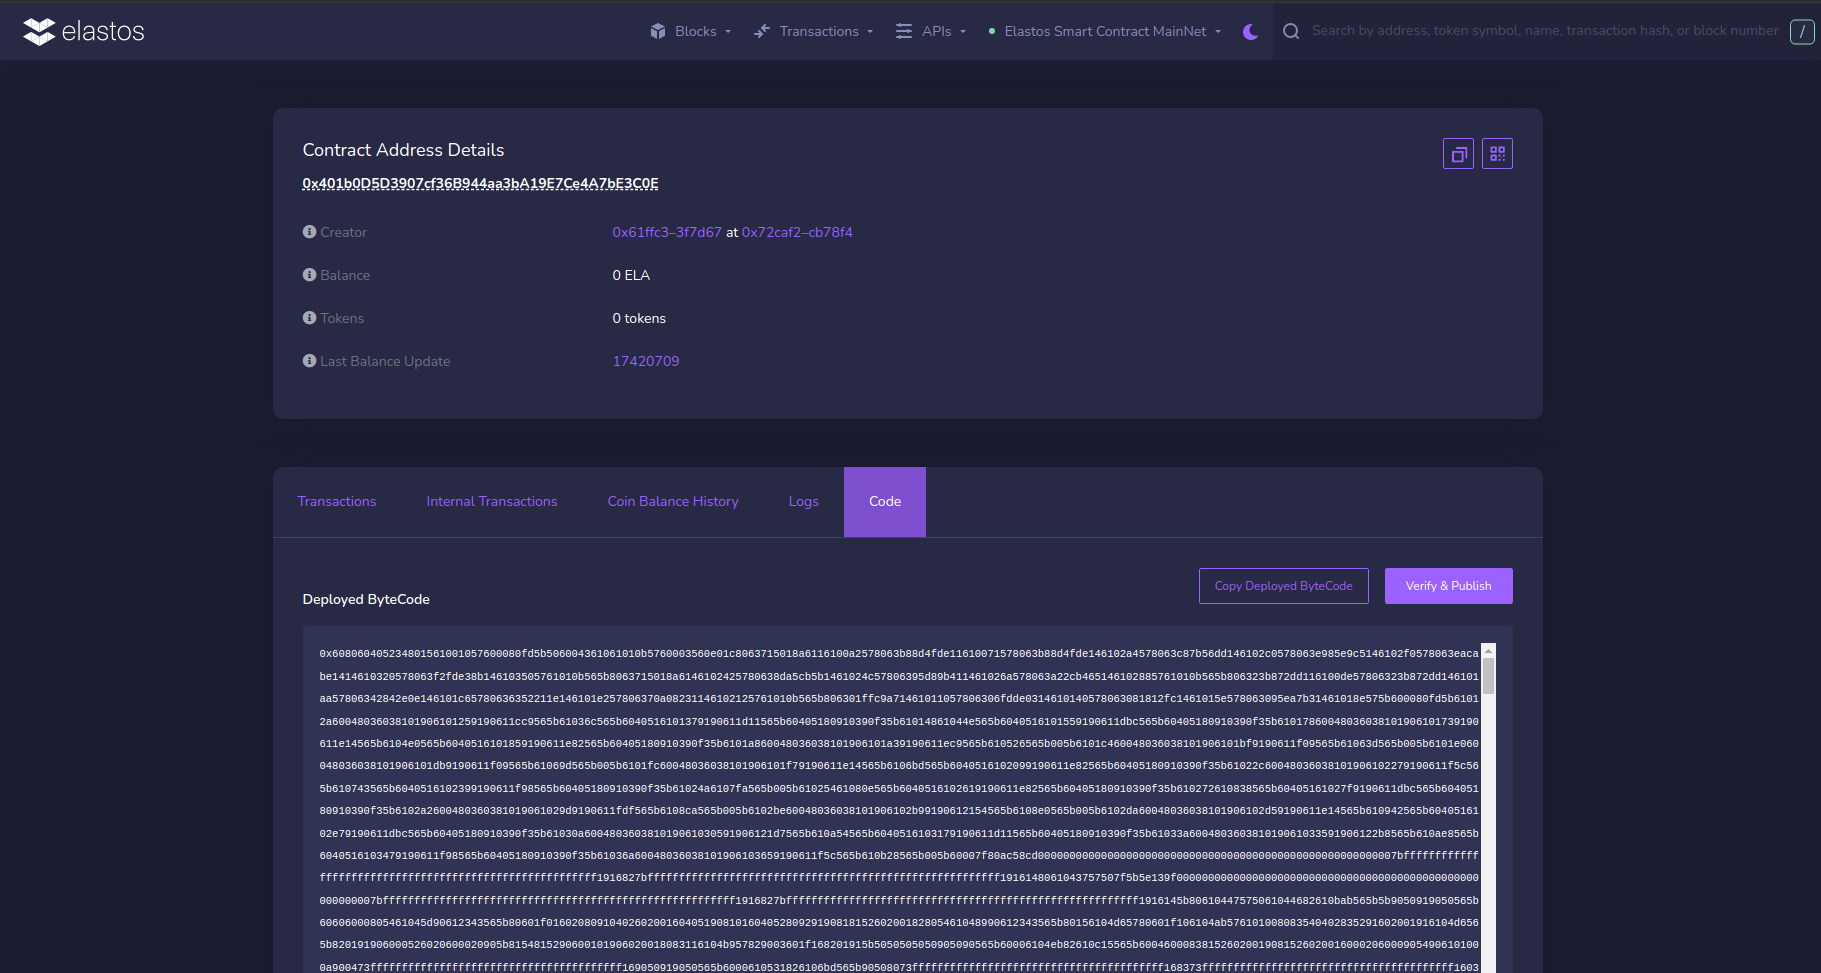 On the contract page, select the Code tab to view the bytecode, and click the Verify & Publish button
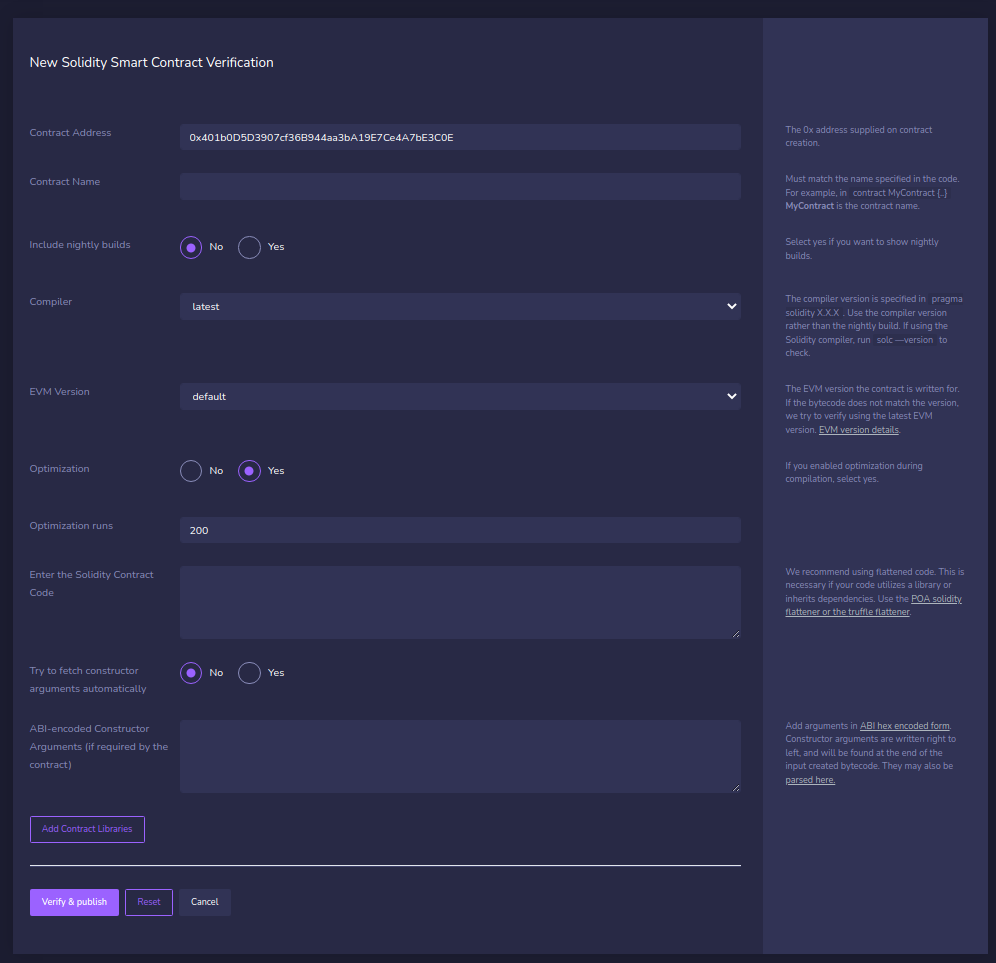
Form Details
Contract Address: The 0x address supplied on contract creation.
Contract Name: Name of the class whose constructor was called in the .sol file. For example, in contract MyContract {.. MyContract is the contract name.
Include Nightly Builds: Yes if you want to show nightly builds.
Compiler: derived from the first line in the contract pragma solidity X.X.X. Use the corresponding compiler version rather than the nightly build.
EVM Version: See EVM version information.
Optimization: If you enabled optimization during compilation, check yes.
Optimization Runs: 200 is the Solidity Compiler default value. Only change if you changed this value while compiling.
Enter the Solidity Contract Code: You may need to flatten your solidity code if it utilizes a library or inherits dependencies from another contract. We recommend the POA solidity flattener or the truffle flattener.
Try to fetch constructor arguments automatically: If similar contracts exist these may be available.
ABI-encoded Constructor Arguments: See this page for more info.
Add Contract Libraries: Enter the name and 0x address for any required libraries called in the called in the .sol file.
Finally, Click the Verify and Publish button. If all goes well, you will see a checkmark ✅ next to Code in the code tab, and an additional tab called Read Contract. The contract name will now appear in BlockScout with any transactions related to your contract.
Troubleshooting
If you receive the dreaded There was an error compiling your contract message this means the bytecode doesn't match the supplied sourcecode. Unfortunately, there are many reasons this may be the case. Here are a few things to try:
- Double check the compiler version is correct.
Check all version digits - for example 0.6.6 is different from 0.6.12
Check that an extra space has not been added to the end of the contract. When pasting in, an extra space may be added. Delete this and attempt to recompile.
Copy, paste and verify your source code in Remix. You may find some exceptions here.
Verification in a dev environment
The Hardhat verification plugin supports BlockScout. You can also choose to use the to verify with Sourcify from your Hardhat environment.